Home
Daylily Seed Propagation with Cold Damp Stratification
Exploring Daylily Seed Propagation: Harnessing the Power of Cold Damp Stratification
Exploring Daylily Seed Propagation: Harnessing the Power of Cold Damp Stratification
Harnessing the Power of Cold Damp Stratification
In the realm of gardening, daylilies stand out as vibrant, resilient flowers that grace gardens with their stunning blooms. While these beauties are often propagated through division, another intriguing method exists: seed propagation with cold damp stratification. Join us as we delve into the fascinating world of daylily seed propagation, unlocking the secrets of cold damp stratification and its role in nurturing these beloved plants.
The Allure of Daylilies
Before we dive into the intricacies of seed propagation, let's take a moment to appreciate the allure of daylilies. With their diverse colors, intricate patterns, and prolific blooms, daylilies add a touch of elegance and charm to any garden landscape. Their resilience and adaptability make them a favourite among gardeners of all skill levels, thriving in a variety of climates and soil conditions.
Understanding Cold Damp Stratification
Cold damp stratification is a natural process that mimics the conditions seeds experience in their native environment during winter. Many perennial plants, including daylilies, require this period of cold exposure to break dormancy and initiate germination. By subjecting seeds to cold, moist conditions, gardeners can simulate winter conditions and stimulate the natural processes needed for successful germination.
The Seed Propagation Process
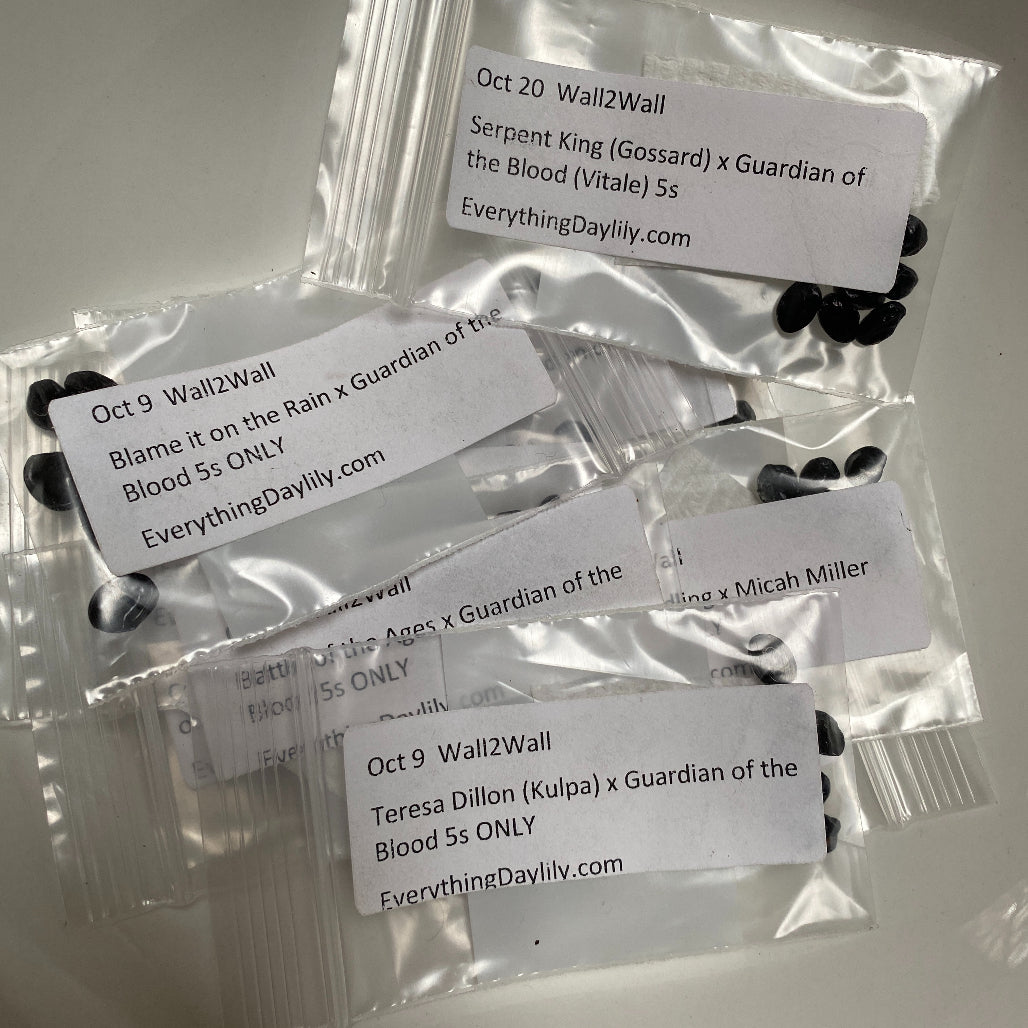
Seed propagation with cold damp stratification begins with collecting ripe daylily seeds from mature seed pods. Once harvested, the seeds are cleaned, dried and prepared for stratification. This involves placing the seeds in a moistened medium, such as vermiculite, and storing them in a cool environment for a specified period.
To stratify daylily seeds, fill a plastic bag or container with dampened vermiculite. Using hydrogen peroxide mixed with water can be an effective method to enhance cold damp stratification and help with seed health and reduce the risk of issues such as mold or fungal growth. Mix one part hydrogen peroxide with nine parts water to create a diluted solution, then place the seeds inside the medium, ensuring they are evenly distributed and not overcrowded. Seal the container and place it in the refrigerator, where temperatures remain consistently cold but not freezing.
Patience and Monitoring
During the stratification period, it's essential to monitor the moisture levels of the medium to ensure it remains consistently damp. Check the container regularly and add water as needed to maintain the desired moisture level. Avoid overwatering, as excessive moisture can lead to mold or fungal growth.
Depending on the daylily variety, seeds may require varying lengths of stratification. Most daylily seeds benefit from a cold damp stratification period of 4-6 weeks, although some may require longer periods to break dormancy fully.
Germination and Beyond
After the stratification period concludes, it's time to transition the seeds to a suitable environment for germination. Once removed from the refrigerator, place the seeds in an area with indirect light, avoiding exposure to overly bright conditions. This gentle transition helps prevent shock to the seeds after the cold treatment.
It's beneficial to observe the seeds for signs of sprouting or initial growth. This indicates that the seeds have broken dormancy and are ready to be potted up. Indeed, allowing for some root and leaf growth before potting up the seeds can enhance their chances of successful germination and establishment.
Once you notice good root and leaf growth, carefully transfer the sprouted seeds (5-6 per pot as they seem to do better in their early days alognside their siblings!) into 9cm pots filled with a well-draining seed starting mix. Gently place the seeds into the compost, ensuring that the roots are positioned properly and the emerging leaves are above the surface.
Providing ample sunlight is crucial for the growth and development of seedlings. However, it's essential to strike a balance and avoid placing the seeds in direct sunlight, as this could lead to overheating and damage to the delicate seedlings.
By following these steps, gardeners can create optimal conditions for daylily seeds to germinate and thrive, setting the stage for a successful propagation journey.
Watering
Watering from below in the early stages of seed germination and seedling growth can be an effective way to provide moisture to the developing plants while minimising the risk of overwatering and water-related issues such as damping off.
To water from below, place the pots or trays containing the seeds on a shallow tray or container filled with water. Allow the soil to absorb water through the drainage holes in the bottom of the pots or trays. Once the soil surface becomes moist, remove the pots from the water tray and allow any excess water to drain away.
This method ensures that the soil receives moisture evenly and encourages the roots to grow downward in search of water. It also helps prevent the disturbance of delicate seedlings during watering, reducing the risk of damage.
When watering from below, it's essential to monitor the soil moisture levels regularly and adjust the frequency of watering as needed. Avoid allowing the pots to sit in standing water for extended periods, as this can lead to waterlogging and root rot.
By incorporating watering from below into the early stages of seed germination and seedling growth, you can promote healthy root development and create optimal conditions for the successful establishment of your daylily seedlings.
The Beauty of Daylily Hybrids
One of the exciting possibilities of seed propagation with cold damp stratification is the potential for creating unique daylily hybrids. By carefully selecting parent plants with desired traits and characteristics, gardeners can cross-pollinate flowers to produce offspring with a combination of features from each parent.
Experimenting with hybridisation adds an element of creativity and discovery to the seed propagation process, allowing gardeners to cultivate new and exciting varieties of daylilies that reflect their unique vision and preferences.
In Conclusion
In the world of gardening, few pursuits are as rewarding as the propagation of daylilies from seed. From the thrill of collecting ripe seed pods to the joy of watching tiny seedlings emerge and grow, the journey of seed propagation is filled with excitement and possibility. Whether you're a seasoned gardener or a novice enthusiast, exploring the world of daylily seed propagation is sure to inspire creativity and wonder in your garden. So, roll up your sleeves, gather your seeds, and embark on a journey of discovery as you unlock the secrets of daylily seed propagation.